Ragefire Chasm
Defeat the Searing Blade, Protect Orgrimmar from Threats Within
Created by James Wiken
Special Thanks to
Blizzard Entertainment
Original dungeon design and characters, quest and adventure journal text, art assets, maps
wowhead.com
Dungeon, NPC, and item information, screenshots
GM Binder
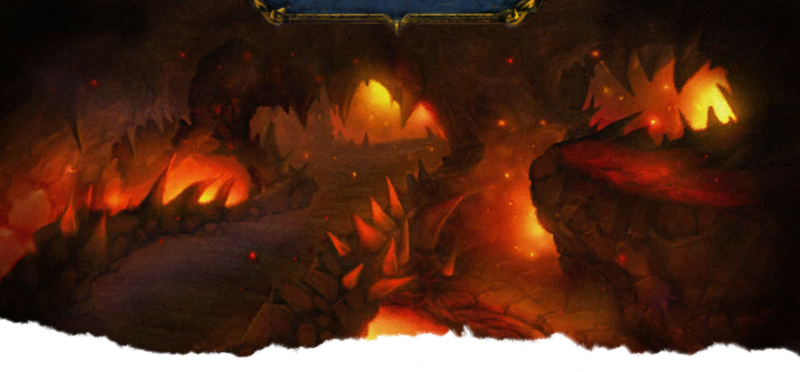
Ragefire Chasm
Ragefire Chasm consists of a network of volcanic caverns that lie below the orcs' new capital city of Orgrimmar. Recently, rumors have spread that a cult loyal to the demonic Shadow Council has taken up residence within the Chasm's fiery depths. This cult, known as the Burning Blade, threatens the very sovereignty of Durotar. The Warchief of the Horde, Garrosh Hellscream, believes that a swift and brutal strike at the cult's lieutenants might serve as Orgrimmar's best defense. If they're not silenced, the dark powers emanating from Ragefire Chasm could undo all that the orcs have fought to attain.
The adventurers have been sent to Ragefire to put down this shadowy cult.
Overview
Ragefire Chasm is a dungeon designed for characters from levels 2 to 3. It is meant to be standalone and can be inserted into any campaign.
In this dungeon, the adventurers have been tasked with investigating the reports of the Searing Blade gathering in the lava filled tunnels beneath Orgrimmar. The Warchief wishes to put down these cultists before they can grow into a real threat to the Horde.
To investigate this potential threat, Stone Guard Kurjack, an orc warrior, and Bovaal Whitehorn, a tauren shaman, have been sent to Ragefire Chasm with a small contingent of Orgrimmar Defenders in tow. The Warchief has also sent missives to Orgrimmar, the Undercity, and Thunder Bluff asking for able-bodied adventurers loyal to the Horde to assist in this venture. The adventurers are to report to Stone Guard Kurjack if they wish to help combat this potential threat residing below the heart of the Horde.
The Searing Blade must be dealt with before they have the time to gather enough power to deal real damage to Orgrimmar and its citizens.
Prologue
Beneath the city of Orgrimmar lies this fiery chasm. Recently, a clan of troggs known as Ragefire Troggs have begun to appear in the chasm, from deep below the lava-filled tunnels. Magatha Grimtotem, of the tauren people, attempted to make peace with these creatures, but was met only with hostility. It was clear that these troggs were not interested in diplomacy, and could potentially overwhelm the entire Horde if left unchecked.
Enemies Below
Description
There are enemies of the Horde beneath this very city, adventurers.
The Searing Blade plots to take Orgrimmar for their own, and have already taken Ragefire Chasm! We need to storm their forces and retake what is ours!
Go speak with Stone Guard Kurjack just inside Ragefire Chasm. He will have further orders for you.
Mechanics and Reward
The Warchief gives you a letter that will give you access to Ragefire Chasm. Report to Stone Guard Kurjack to see how you can assist with putting down this threat within.
Once this quest is completed, Stone Guard Kurjack will offer the quests, "Repel the Invasion" and "Taragaman the Hungerer". Bovaal Whitehorn will also offer the quest, "Elemental Tampering".
A sect of the mysterious Shadow Council has also taken refuge in this chasm. This sect is known as the Searing Blade, and is led by Taragaman the Hungerer, a felguard; Jergosh the Invoker, a powerful warlock; and Bazzalan, a satyr. From their dark hiding place, they plot to overthrow and destroy all that the Horde has built for themselves in these lands.
Cleft of Shadow
Hidden within the central plateau of Orgrimmar is the Cleft of Shadow. Tents smelling of fire and brimstone and filled with magical curiosities ring the cavern. Orcs and goblins are gathered throughout the cavern. speaking in hushed tones and discretely trading what are most likely illicit goods.
Residing within its magically lit caverns are many of the Horde's practitioners of the fel and arcane schools of magic. This includes the city's Arcane Enclave, who maintains portals to faraway lands. Other less-than-savory denizens of Orgrimmar make their home here as well.
At the eastern end of the Cleft of Shadow, beside the tent of noted warlock, Arnak Fireblade, is the tunnel leading down into Ragefire Chasm. It is currently being guarded by a pair of Orgrimmar Defenders who are tasked with preventing anyone from entering or exiting the fiery caverns below with explicit orders to the contrary. The adventurers can give the letter they received from the Warchief to be admitted down into Ragefire Chasm.
1. Trogg Tunnels
A clan of troggs known as Ragefire Troggs, originating from deep below the lava-filled tunnels, made the shallowest tunnels of this chasm their home. Magatha Grimtotem, of the tauren people, attempted to make peace with these creatures, but was met only with hostility.
More recently, the Ragefire Troggs have allied themselves with the Searing Blade and prevent any outsiders from venturing deeper into the cavern. For their loyalty, Oggleflint, chieftain of the Ragefire Troggs, has been made a lieutenant of the Searing Blade.
1a. Horde Staging Point
Only minutes into the tunnels, the party sees Bovaal Whitehorn, stone Guard Kurjack, and his defenders. The orc soldiers are currently under attack by a group of 2d2 Molten Elementals. The "Searing Blade Enforcer" stat block can used to represent the Stone Guard Kurjack and the Orgrimmar Defenders during this encounter. Bovaal Whitehorn is currently maintaining a magical barrier and cannot contribute to the fight.
Once the pack of attacking elementals is dispatched, the orc soldiers return to their guard posts. Stone Guard Kurjack and Bovaal Whitehorn greet the adventurers and explain the current situation.
Their expedition has hit some difficulties and they are currently doing all they can to keep the raging Molten Elementals from spreading into the Cleft of Shadow. With the characters' help, however, they may be able to proceed with their original mission.
Speaking to each member of the expedition will provide the party with quests to assist the Horde with taking down the Searing Blade. The orcs currently manning this staging point will be hesitant to leave Bovaal and Orgrimmar unguarded.
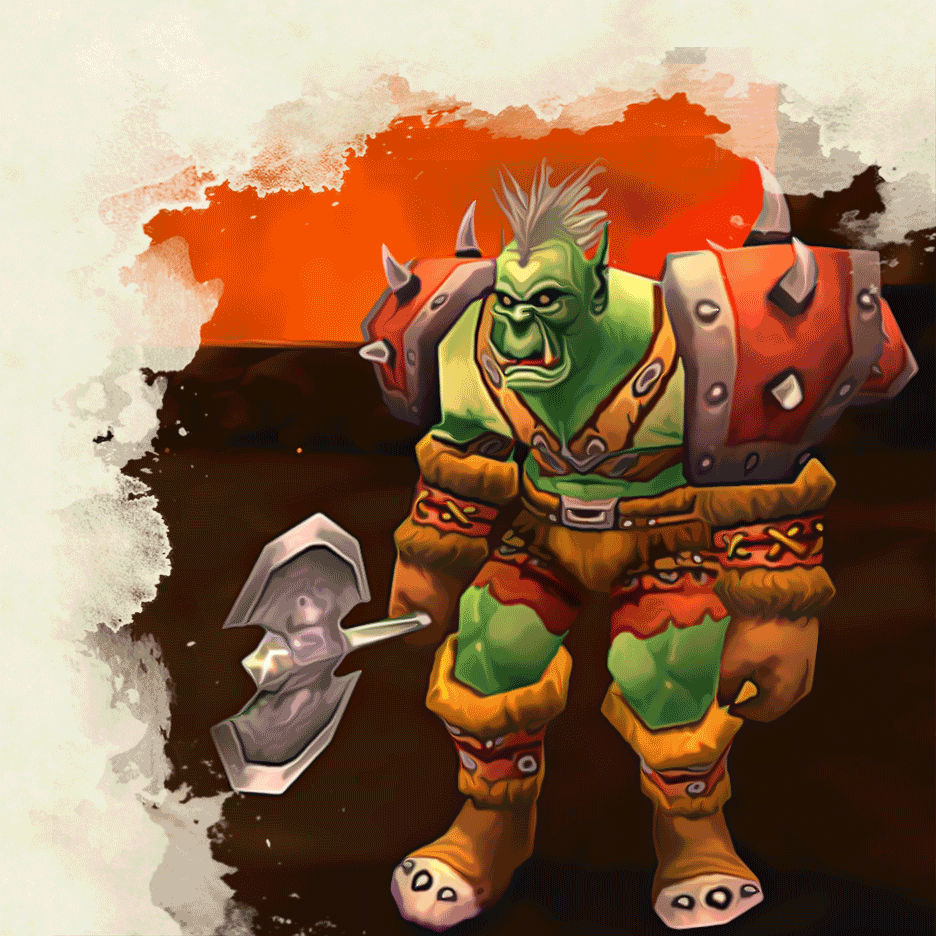
Stone Guard Kurjack
Kurjack is a grizzled soldier within the Horde. Trusted for his unquestionable loyalty to the Horde, the Warchief tasked him with taking down the Searing Blade occupying Ragefire Chasm.
The occupation of Ragefire Chasm is an affront to his sense of honor. His primary concern is to dismantle the leadership of the Searing Blade and prevent them from ever launching an invasion into Orgrimmar. He will send the adventurers to defeat the Searing Blade's most dangerous members with the quests "Repel the Invasion" and "Taragaman the Hungerer".
Bovaal Whitehorn
Bovaal is a young tauren shaman looking to prove himself in the Horde. As such, when the Warchief asked for volunteers to delve into Ragefire Chasm he jumped at the chance.
What he saw in the fiery chasm beneath Orgrimmar troubled him and now he works to calm the elementals within it. He will offer the adventurers the quest, "Elemental Tampering", to this end.
Repel the Invasion
Description
This cavern was once a place of great honor. Young warriors were taken here to slay an Earthborer worm for their first kill - something we Orcs remember for our entire lives.
The Burning Blade agents inside have enslaved the cave's inhabitants and plan to launch a full-scale attack on Orgrimmar along with their Trogg allies.
If you strike down their Lieutenants, you may be able to catch them unprepared and stop this invasion before it starts.
Mechanics and Reward
Stone Guard Kurjack has identified the Searing Blade's top lieutenants, Jergosh the Invoker, Bazzalan, and Oggleflint. Bring proof of their demise, and Kurjack will reward the party with 20 gp for each of them.
Taragaman the Hungerer
Description
The Searing Blade has managed to summon a foul demon they call Taragaman the Hungerer to lead the first attack in their takeover of Orgrimmar!
Make haste and slay Taragaman in the name of the Warchief! Lok'tar ogar!
Mechanics and Reward
Defeat the Searing Blade's demonic champion and return its heart to Stone Guard Kurjack. The Stone Guard will reward the party with 40 gp for their service to Orgrimmar and the Horde.
Elemental Tampering
Description
The Searing Blade's warlocks have enslaved Ragefire Chasm's elemental spirits, adventurers. They aren't a threat to the city while my spell keeps them at bay, but I can't maintain it much longer.
Bring me four of the Searing Bindings used to control them and I will release their spirits back into the Chasm.
Mechanics and Reward
Bovaal Whitehorn is doing all he can to keep the elementals of the chasm at bay. Bring him four Searing Bindings which drop from Molten Elementals to bolster his barrier.
Once all the bindings are delivered to him, Whitehorn will reward the party with 20 gp.
1b. Main Passage
Through the center of the lava tunnel is an elevated path of dark igneous rock. Glossy black shards of obsidian line the edges the walkway, forming a razor-edged barrier between the party and the bubbling magma below. Molten Elementals and Earthborers roam this section of the passageway, kicking up dust and ash as they pass over the blackened stone beneath them. Roll from this section's random encounter table to determine what monsters are here.
Random Encounter Table
| Roll | Monsters |
|---|---|
| 1 | 3 Molten Elementals |
| 2 | 1 Earthborer, 2 Molten Elementals |
| 3 | 2 Earthborers, 1 Molten Elemental |
| 4 | 3 Earthborers |
Oggleflint
Medium humanoid (trogg), chaotic neutral
- Armor Class 14
- Hit Points 37 (5d8 + 15)
- Speed 30 ft.
STR DEX CON INT WIS CHA 16 (+3) 13 (+1) 16 (+3) 12 (+1) 10 (+0) 14 (+2)
- Skills Perception +4
- Damage Resistances fire
- Senses darkvision 120 ft., passive Perception 14
- Condition Immunities charmed, frightened
- Languages trogg, orc
- Challenge 1 (200 XP)
Inspiring Presence. Friendly creatures within 15 ft. of Oggleflint gain a +1 bonus to attack and damage rolls.
Actions
Cleaving Club. Melee Weapon Attack: +5 to hit, reach 5 ft., two targets. Hit: 6 (1d6 + 3) bludgeoning damage.
Inspire (Recharge 3-6). Oggleflint can use a bonus action to deal 3 (1d6) bludgeoning damage to a friendly creature within melee range. That creature gains one Inspiration die, a d6.
Once within the next 10 minutes, the creature can roll the die and add the number rolled to one ability check, attack roll, or saving throw it makes. The creature can wait until after it rolls before deciding to use the Inspiration die. Once the Inspiration die is rolled, it is lost. A creature can have only one Inspiration die at a time.
Roughly halfway up the tunnel, a stream of lava spills over the pathway the party is using. The adventurers can make a DC 12 Athletics check to jump over the molten stream. If the characters investigate the lava flow, they will notice that it is not constant in rate and width. The party can wait for when the lava stream wanes and cross then. If they do, they have advantage on the above check.
The pathway continues south, deeper into Ragefire Chasm. Ragefire Troggs, roam around this tunnel is small groups. Looking across the roiling magma below, narrow walkways can be seen lining the tunnel walls on both sides of the party. Solitary Ragefire Troggs and Shamans can be seen walking these narrow paths.
A group of two Ragefire Troggs and one Ragefire Shaman roams the upper pathway. Once these troggs is dealt with, the party can continue into Oggleflint's Throne.
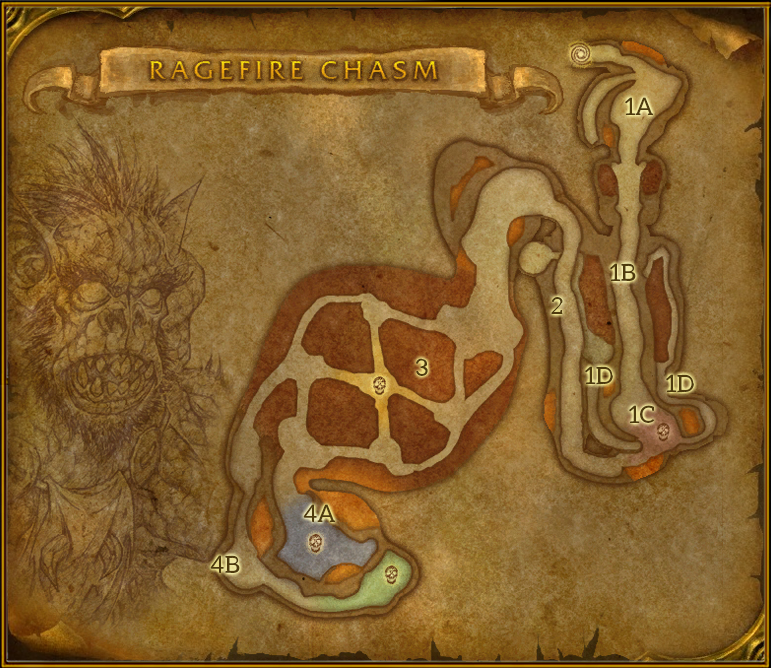
1c. Oggleflint's Throne
The comparatively cramped tunnels open up into a more open chamber. The temperature of this cave is noticeably lower as no longer are the adventurers standing directly above a river of magma.
From this chamber, Oggleflint rules over the Ragefire troggs. Recently he has added Lieutenant of the Searing Blade to his titles. He is flanked by two Ragefire Troggs, acting as his personal guards.
Ramps to the east and west slope down into the side passages of the Trogg Tunnels. A smooth corridor of lava rock leads southwest to the Obsidian Climb.
Oggleflint
Oggleflint and the troggs once ruled unchallenged in the depths of Ragefire Chasm until the Searing Blade cultists moved in. Too weak to drive away the Searing Blade, Oggleflint and the troggs instead joined the cultists and now stand guard near the entrance of Ragefire Chasm where they now wait patiently for any unwelcome guests to enter the cave system.
Oggleflint (marked by a red skull on the map) is the chieftain of the Ragefire troggs and is accompanied by his personal guard of two Ragefire Troggs. He wields an enchanted bone which he uses to attack his foes and "inspire" his subordinates. He will prioritize engaging multiple enemies in melee to take advantage of his Cleaving Club.
When Oggleflint is defeated, the party can loot Oggleflint's Inspirer.
1d. Side Passages
Narrow side passages line the tunnel walls in the Trogg Tunnels. Ragefire Troggs and Shamans patrol the banks of these passages, scavenging what they can from the cavern floors. At the end of the western side tunnel, the path turns upwards and is capped by a hidden chamber. This is a trogg residence, and contains 2d2 Ragefire Troggs that will attack any intruders. The party must return to Oggleflint's Throne to safely leave these passages.
2. Obsidian Climb
Leading north out of the Trogg Tunnels is another elevated pathway composed of dark igneous rock. Counterintuitively, it slopes upwards as the party moves deeper into the magma-filled chasm. Much like the tunnels before it, the climb is illuminated by the flow of this magma. About halfway up the climb a dip in the path causes the lava to pool. This obstacle is wide than the one the adventurers faced below and they must succeed on a DC 14 Athletics check to safely cross. As before, the size of this pool ebbs over time and if the adventurers notice this fact, they can roll the check with advantage.
Once past this obstacle, a fiery vista off to the right of the party presents itself. Spouts of lava spray molten rock high into the air and the Trogg Tunnels can be seen below.
Molten Elementals and Earthborers patrol this stretch of Ragefire Chasm. Along the obsidian climb are 3 (2d2) pairs of one Molten Elemental and one Earthborer. They are distributed fairly uniformly along the pathway.
At the top of the climb is the path turns west and leads into a chamber littered with broken elementals and earthborers. Members of the Searing Blade can be heard in the next cavern, practicing their profane magics. Continuing south of this chamber leads into The Hungerer's Lair.
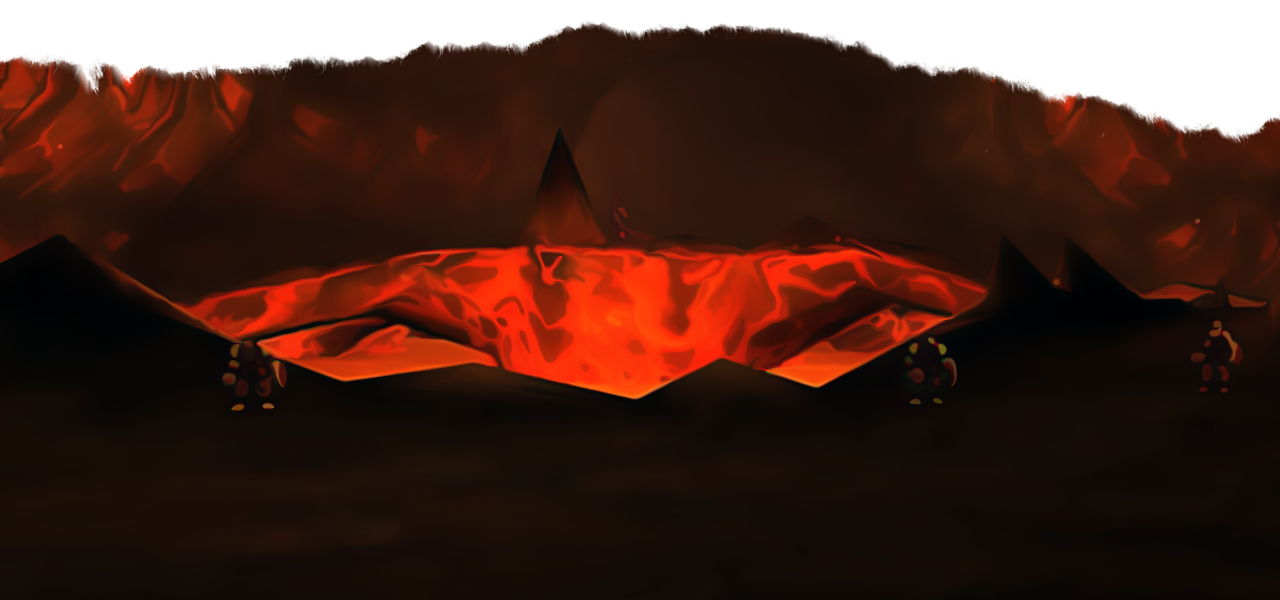
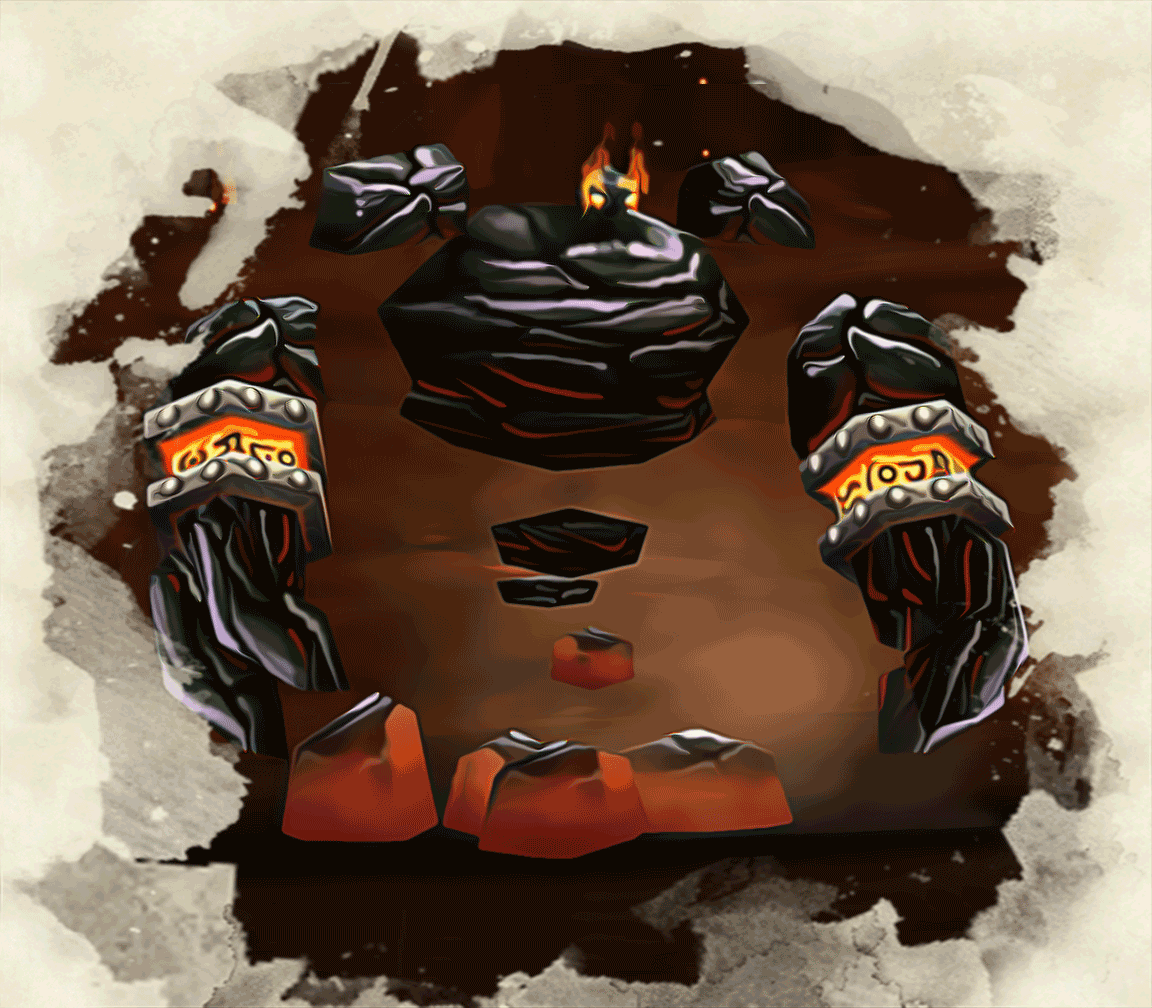
3. The Hungerer's Lair
As the party makes its way deeper into Ragefire Chasm, its finds itself at the banks of a massive underground lake of fire and molten rock. Several platforms of blackened rock dot the surface of this lake all connected by a series of natural bridges. Distributed amongst the platforms around the edge of the cavern are 3 (2d2) groups of Searing Blade members. Roll from this section's random encounter table for each group to determine which cult members are in the cavern.
Random Encounter Table
| Roll | Monsters |
|---|---|
| 1 | 3 Searing Blade Enforcers |
| 2 | 1 Searing Blade Warlock, 2 Searing Blade Cultists |
| 3 | 1 Searing Blade Warlock, 2 Searing Blade Enforcers |
| 4 | 3 Searing Blade Cultists |
| 5 | 2 Searing Blade Enforcers, 2 Searing Blade Cultists |
| 6 | 2 Searing Blade Warlocks |
These groups keep a wide berth from the central platform where a fearsome felguard, Taragaman the Hungerer, stands vigil. If the party moves onto the central platform, the mighty demon will attack them. Any cultists still in the chamber will cheer on their champion. If the felguard is defeated, they will flee in terror, either back into the Obsidian Climb or deeper into the cave system.
Two paths lead deeper into Ragefire Chasm from this chamber. From the southwestern platform, the party can take the main and more clearly seen passage into the Jerogsh's Camp. A hidden path leading from the western platform will allow the adventurers to find the Overlook.
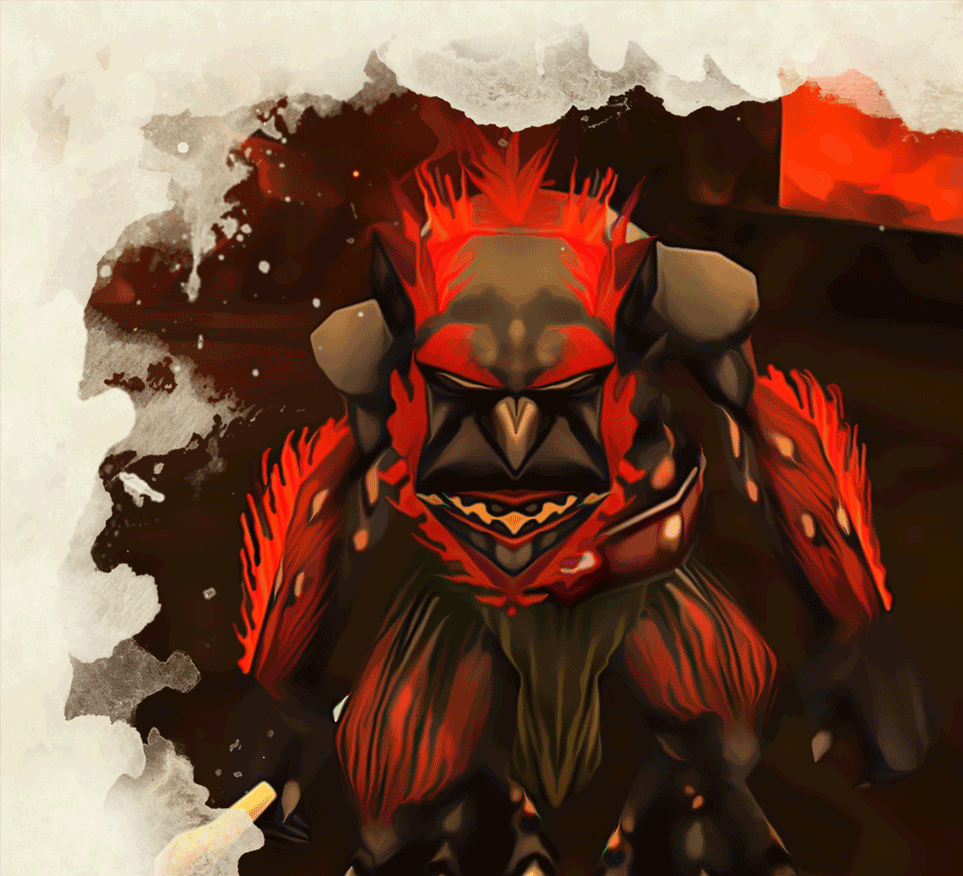
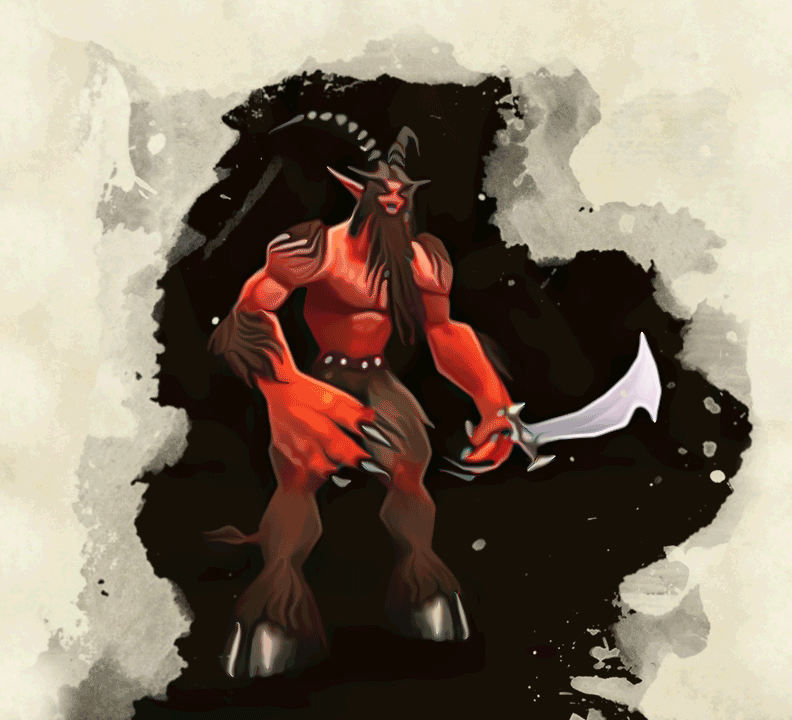
Taragaman the Hungerer
Large fiend (demon), chaotic evil
- Armor Class 14
- Hit Points 51 (6d10+18)
- Speed 30 ft.
STR DEX CON INT WIS CHA 16 (+3) 13 (+1) 16 (+3) 9 (-1) 12 (+1) 10 (+0)
- Damage Resistances bludgeoning, piercing, and slashing from nonmagical attacks
- Damage Immunities fire
- Condition Immunities charmed, exhaustion, frightened, grappled, paralyzed, prone, restrained
- Senses darkvision 60 ft., passive Perception 11
- Languages Abyssal, Orc
- Challenge 2 (200 XP)
Actions
Multiattack. Taragaman can make two attacks.
Uppercut. Melee Weapon Attack: +5 to hit, reach 10 ft., one target. Hit: 10 (2d6 + 3) slashing damage and the target must succeed on a DC14 Strength saving throw or be knocked back 15 ft.
Fire Nova. All creatures within 10 ft. must succeed on a DC 13 Dexterity saving throw or take 9 (2d8) fire damage.
Taragaman the Hungerer
Thought to be the leader of the Searing Blade, Taragaman the Hungerer hides within the fiery depths of Ragefire Chasm, using his demonic influence to corrupt the citizens of Orgrimmar. In reality, the leaders of the Searing Blade are Bazzalan and Jergosh, this felguard is expendable bait to lure adventurers in to their death.
Taragaman the Hungerer (marked by a yellow skull on the map) is a fearsome felguard, feared by friends and foes alike. He will launch his enemies towards their fiery demise.
When Taragaman the Hungerer is defeated, the party may loot Cursed Felblade and Taragaman the Hungerer's heart.
4. Searing Cavern
used as the true headquarters of the Searing Blade, this cavern holds a once hidden enemy of the Horde. It is here that they perform their forbidden magics, twisting and corrupting the elements with demonic taint. The true masters of the Searing Blade, Jergosh the Invoker and Bazzalan, wait within, weaving their dark plans and plotting the destruction of the city above.
4a. Jergosh's Camp
Entering Searing Cavern via the main passage leads to the Searing Blade's primary encampment. Guarding this passage is a patrol of cult members (roll from last section's Random Encounter Table). They will defend the camp in the next chamber from any intruders.
Once through this passage, the party is in a large open cavern illuminated by lava flows and magical braziers. A high cliff rings the west and south walls of the chamber. Much of this cave is filled with tents and supplies arrayed around a large orb glowing blood red. Standing in front of the orb is Jergosh the Invoker, flanked by two Searing Blade Cultists.
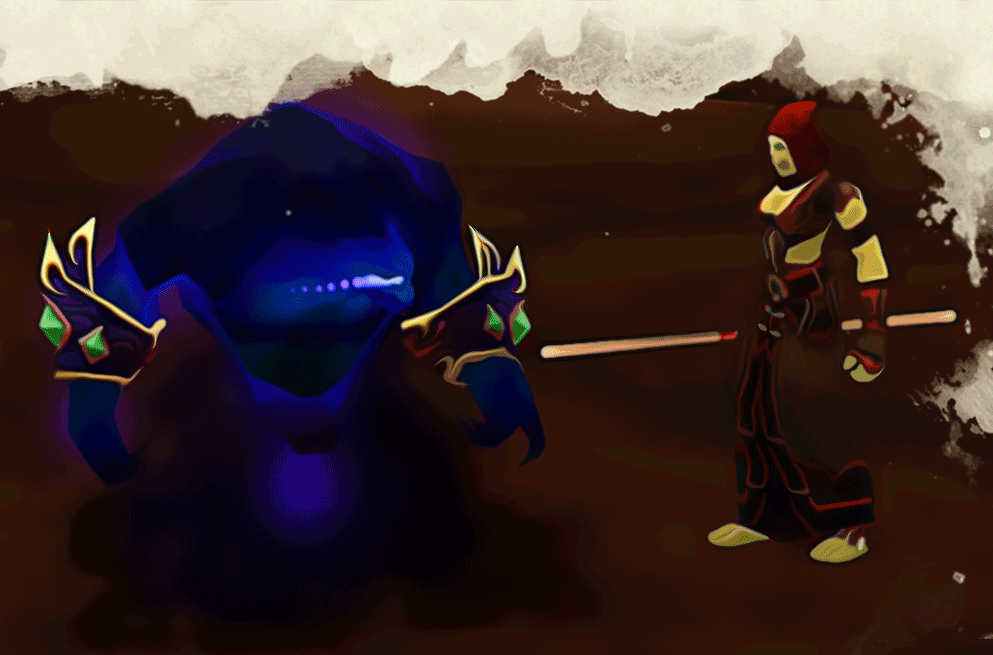
Upon seeing the adventurers, Jergosh will open a demonic portal, spirting the blood orb into another realm. He and his companions then attack the party. If the characters defeat Jergosh and have not explored the Overlook yet, they will hear laughter and feel a demonic presence coming from the clifftop.
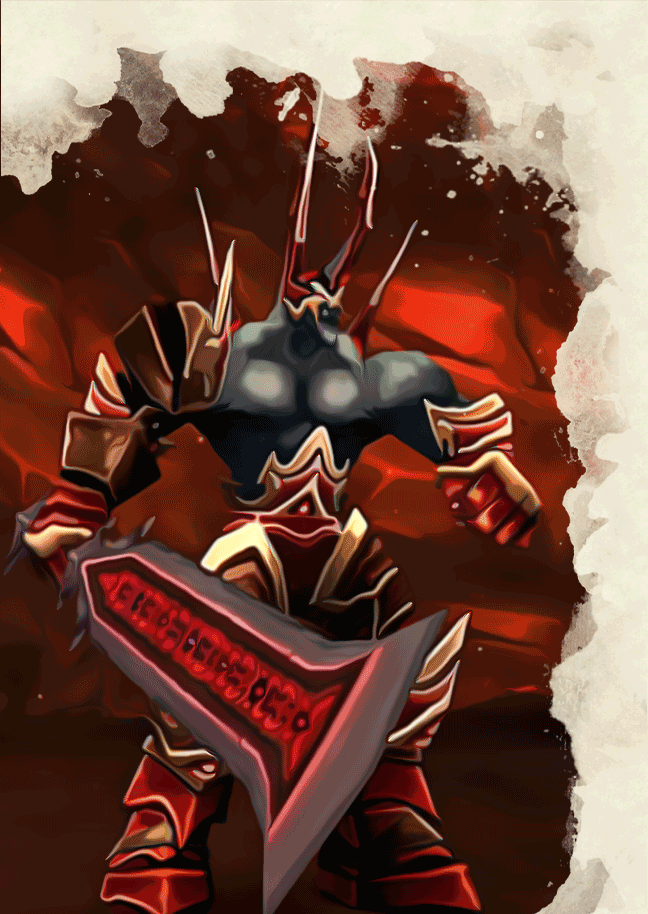
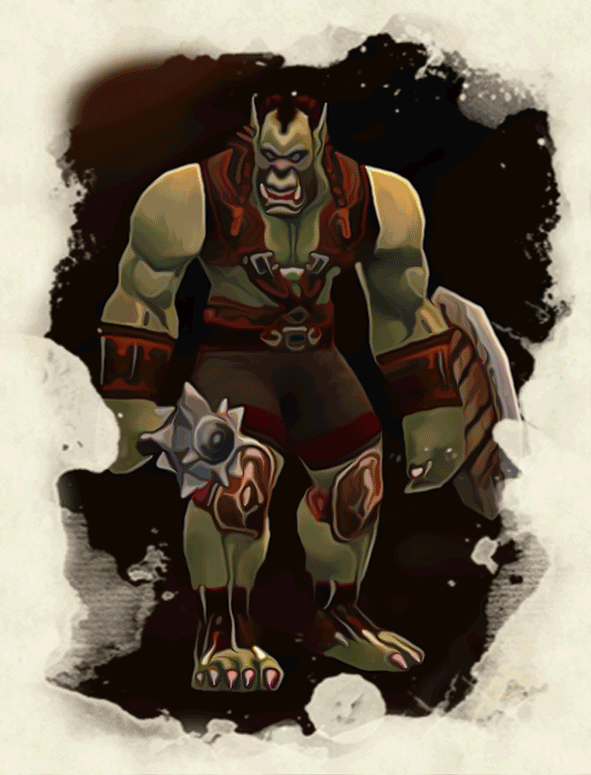
Jergosh the Invoker
Jergosh the Invoker rejected the ideals of the orcs and practices the dark and demonic arts of the warlock. A leader of the Searing Blade Cultists, Jergosh dwelled within Ragefire Chasm, concocting a scheme dangerous enough that drew the attention of Thrall himself.
Jergosh the Invoker (marked by a blue skull on the map) is an orc warlock clad in black and violet robes. He will fling curses and afflictions upon his enemies from afar.
When Jergosh the invoker is defeated, the party may loot Robe of Evocation.
Jergosh the Invoker
Medium humanoid (orc), chaotic evil
- Armor Class 14
- Hit Points 32 (5d8+10)
- Speed 30 ft.
STR DEX CON INT WIS CHA 12 (+1) 13 (+1) 14 (+2) 11 (+0) 11 (+0) 16 (+3)
- Skills Perception +2
- Damage Resistances necrotic
- Senses darkvision 60 ft., passive Perception 12
- Condition Immunities charmed, frightened
- Languages Orc
- Challenge 1 (200 XP)
Actions
Immolation. One hostile target within 40 ft. must succeed on a DC 12 Constitution saving throw or they take 7 (2d6) fire damage at the start of their turns. This throw may be repeated at the end of the target's turns to end this effect.
Curse of Weakness. One hostile target within 40 ft. must succeed on a DC 12 Charisma saving throw or gain a -5 penalty to their Strength, Dexterity, and Constitution ability scores until the end of their next turn.
4b. Overlook
Entering the Searing Cavern via the hidden passage leads to the Overlook. This passageway is guarded by more members of the Searing Blade (roll from last section's random encounter table) and leads to the cliffs overlooking the Dark Shaman Camp from the west and south. See the above section for a description of the camp below. At the end of the cliffs is Bazzalan, a red skinned satyr and the second leader of the Searing Blade. He is accompanied by two Searing Blade Enforcers.
Bazzalan
Bazzalan leads the Searing Blade cultists along with Jergosh the Invoker. His motives are unclear, but like all satyr, he is a swift and cunning foe.
Bazzalan (marked by a green skull on the map) is a satyr rogue. He swings fast and hits enemies with sinister strikes and deadly poisons
When Bazzalan is defeated, the party may loot Bazzalan's Blade.
Mission Accomplished
With the Searing Blade leadership dismantled, the party has completed its mission in Ragefire Chasm. The adventurers may return to Stone Guard Kurjack and Bovaal Whitehorn to collect their rewards for any quests completed for them.
The brave actions of the characters have ended a potential danger to Orgrimmar that threatened to boil up from within. The Warchief will be pleased to see this issue resolved and will smile upon those who saw the deed done.
Bazzalan
Medium fiend (demon), chaotic evil
- Armor Class 14
- Hit Points 33 (6d8+6)
- Speed 40 ft.
STR DEX CON INT WIS CHA 12 (+1) 16 (+3) 12 (+1) 11 (+0) 12 (+1) 14 (+2)
- Damage Resistances necrotic
- Senses darkvision 60 ft., passive Perception 11
- Condition Immunities charmed, frightened
- Languages Abyssal, Orc
- Challenge 1 (200 XP) Magic Resistance. The satyr has advantage on saving throws against Spells and other magical effects.
Actions
Multiattack. Bazzalan can make two Sinister Strikes
Sinister Strike. Melee Weapon Attack: +5 to hit, reach 5 ft., one target. Hit: 6 (1d6 + 3) slashing damage and the target must succeed on a DC 12 Dexterity saving throw or take 3 (1d6) necrotic damage.
Poison. All creatures in a 15 ft. cone must succeed on a DC 12 Constitution saving throw or take 9 (2d8) poison damage and become poisoned until the end of their next turn.
Treasure
This section provides descriptions for the treasure found within Ragefire Chasm. The source of each of these items is given in the above sections.
Bazzalan's Blade
weapon (scimitar), uncommon (requires attunement)
A light demon-forged scimitar once wielded by Bazzalan.
When an attack made with this weapon hits a creature, it must succeed on a DC 13 Dexterity saving throw or take 1d4 necrotic damage.
![]()
Cursed Felblade
weapon (greatsword), rare (requires attunement)
You gain a +1 bonus to attack and damage rolls made with this magic weapon.
When you hit a target using this weapon and have an attack roll at least 5 greater than its AC, it is knocked back 10 ft.
Curse. This weapon is cursed. Attuning to it curses you until you are targeted by the remove curse spell or similar magic. Removing the weapon fails to end the curse on you. Demonic whispers creep into the edge of your mind. Over time, you become more bloodthirsty and violent towards any around you.
![]()
Oggleflint's Inspirer
weapon (club), uncommon (requires attunement)
The weapon has 3 charges and regains all expended charges daily at dawn.
You can use a bonus action and a charge to deal 1d6 plus your Strength modifier bludgeoning damage to a friendly creature within melee range. That creature gains one Inspiration die, a d6.
Once within the next 10 minutes, the creature can roll the die and add the number rolled to one ability check, attack roll, or saving throw it makes. The creature can wait until after it rolls the d20 before deciding to use the Inspiration die, but must decide before the DM says whether the roll succeeds or fails. . Once the Inspiration die is rolled, it is lost. A creature can have only one Inspiration die at a time.
![]()
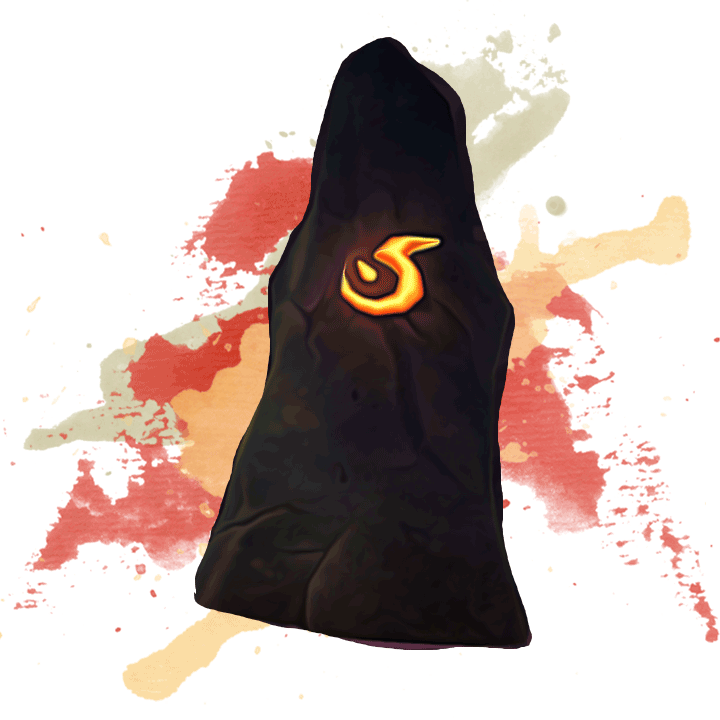
Robe of Evocation
Wondrous item, uncommon (requires attunement)
This robe is a deep red and imbued with Evocation magic.
While you wear this robe, you gain a +2 bonus to attack and damage rolls for Evocation spells.
![]()
Monsters
This section includes stat blocks for all non-boss monsters found in Ragefire Chasm. These monsters can be used either by using the Random Encounter Tables found in each section or building your own encounters.
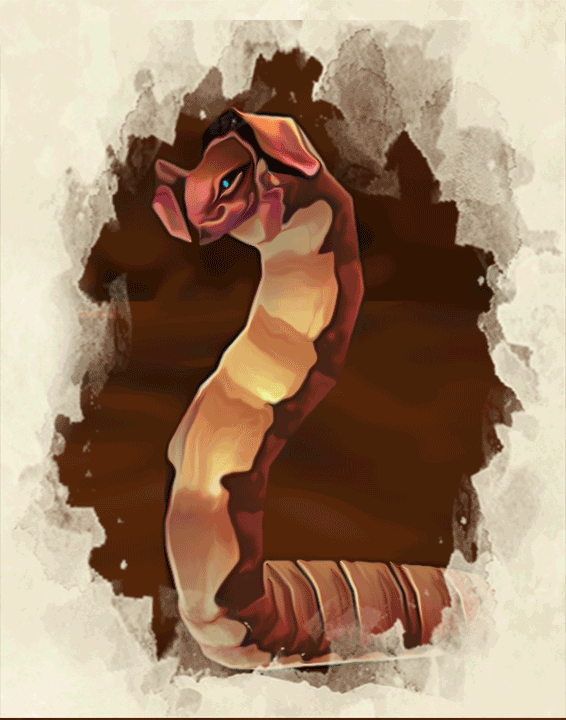
Earthborer
Medium beast, unaligned
- Armor Class 12
- Hit Points 16 (3d8 + 3)
- Speed 30 ft.
STR DEX CON INT WIS CHA 13 (+1) 14 (+2) 12 (+1) 2 (-4) 10 (+0) 3 (-4)
- Damage Immunities poison, acid
- Damage Resistances fire
- Senses tremorsense 60 ft. passive Perception 10
- Languages —
- Challenge 1/2 (100 XP)
Actions
Earthborer Acid. Melee Weapon Attack: +4 to hit, reach 5 ft., one target. Hit: 7 (2d6) acid damage, and if the target is wearing nonmagical metal armor, its armor is partly corroded and takes a permanent and cumulative -1 penalty to the AC it offers. The armor is destroyed if the penalty reduces its AC to 10.
Molten Elemental
Medium elemental, chaotic neutral
- Armor Class 14
- Hit Points 22 (3d8+9)
- Speed 30 ft.
STR DEX CON INT WIS CHA 15 (+2) 8 (-1) 16 (+3) 7 (-2) 12 (+1) 6 (-2)
- Damage Vulnerabilities bludgeoning
- Damage Immunities fire
- Damage Resistances piercing, and slashing from nonmagical attacks
- Senses tremorsense 60ft., darkvision 60 ft., passive Perception 11
- Languages understands Ignan but can't speak it
- Challenge 1/2 (100 XP)
Actions
Molten Fist. Melee Weapon Attack:* +4 to hit, reach 5 ft., one target. Hit: 5 (1d6 + 2) bludgeoning damage plus 3 (1d6) fire damage.
Ragefire Shaman
Medium humanoid (trogg), chaotic neutral
- Armor Class 11
- Hit Points 16 (3d8 + 3)
- Speed 30 ft.
STR DEX CON INT WIS CHA 10 (0) 14 (+2) 12 (+1) 12 (+1) 14 (+2) 11 (+0)
- Skills Perception +4
- Damage Resistances fire
- Senses darkvision 120 ft., passive Perception 14
- Languages trogg, orc
- Challenge 1/2 (100 XP)
Actions
Lightning Bolt. Ranged Spell Attack: +4 to hit, range 45/90 ft., one target. Hit: 5 (1d10) lightning damage.
Healing Wave (Recharges after a Long Rest). All friendly creatures within 15 ft. of the shaman regain 5 (2d4) hit points.
Ragefire Trogg
Medium humanoid (trogg), chaotic neutral
- Armor Class 13
- Hit Points 19 (3d8 + 6)
- Speed 30 ft.
STR DEX CON INT WIS CHA 14 (+2) 13 (+1) 14 (+2) 12 (+1) 10 (+0) 11 (+0)
- Skills Perception +2
- Damage Resistances fire
- Senses darkvision 120 ft., passive Perception 12
- Languages trogg, orc
- Challenge 1/2 (100 XP)
Actions
Strike. Melee Weapon Attack: +4 to hit, reach 5 ft., one target. Hit: 6 (1d8 + 2) slashing damage.
Searing Blade Cultist
Medium humanoid (orc), chaotic evil
- Armor Class 13
- Hit Points 19 (3d8+6)
- Speed 30 ft.
STR DEX CON INT WIS CHA 11 (+0) 14 (+2) 14 (+2) 9 (-1) 14 (+2) 11 (+0)
- Senses darkvision 60 ft., passive Perception 12
- Languages Orc
- Challenge 1/2 (100 XP)
Actions
Dagger. Melee Weapon Attack: +4 to hit, reach 5 ft., one target. Hit: 4 (1d4 + 2) piercing damage.
Curse of Agony. One hostile target within 40 ft. must succeed on a DC 12 Wisdom saving throw or take 7 (2d6) necrotic damage.
Searing Blade Enforcer
Medium humanoid (orc), chaotic evil
- Armor Class 14
- Hit Points 26 (4d8+8)
- Speed 30 ft.
STR DEX CON INT WIS CHA 15 (+2) 12 (+1) 15 (+2) 9 (-1) 14 (+2) 11 (+0)
- Senses darkvision 60 ft., passive Perception 12
- Languages Orc
- Challenge 1/2 (100 XP)
Actions
Mace. Melee Weapon Attack: +4 to hit, reach 5 ft., one target. Hit: 6 (1d6 + 2) bludgeoning damage.
Shield Slam. One hostile target within melee range must succeed on a DC 12 Constitution saving throw or become Stunned until the end of their next turn.
Searing Blade Warlock
Medium humanoid (orc), chaotic evil
- Armor Class 12
- Hit Points 16 (3d8+3)
- Speed 30 ft.
STR DEX CON INT WIS CHA 11 (+0) 12 (+1) 13 (+1) 12 (+1) 12 (+1) 16 (+3)
- Senses darkvision 60 ft., passive Perception 11
- Languages Orc
- Challenge 1/2 (100 XP)
Actions
Shadow Bolt. Ranged Spell Attack: +4 to hit, range 120 ft., one target. Hit: 5 (1d10) necrotic damage.
Summon Voidwalker (Recharges after a Long Rest). The Warlock summons a friendly Voidwalker within 10 ft. of them. It follows the warlock's orders and shares their initiative.
Voidwalker
Medium fiend (demon), chaotic evil
- Armor Class 13
- Hit Points 22 (3d8+9)
- Speed 30 ft.
STR DEX CON INT WIS CHA 14 (+2) 10 (+0) 16 (+3) 10 (+0) 10 (+0) 13 (+1)
- Damage Vulnerabilities radiant
- Damage Immunities necrotic
- Damage Resistances piercing, and slashing from nonmagical attacks
- Senses darkvision 60 ft., passive Perception 10
- Languages Abyssal, language of its summoner
- Challenge 1/2 (100 XP)
Actions
Shadow Strike. Melee Weapon Attack: +4 to hit, reach 5 ft., one target. Hit: 4 (1d4 + 2) bludgeoning damage plus 2 (1d4) necrotic damage.
Taunt. One hostile target within melee range must succeed on a DC 12 Charisma saving throw or they have disadvantage on attack rolls made against targets other than the demon. This throw may be repeated at the end of the target's turns to end this effect.